


The Volvo S60 2006 headlight bulb replacement involves accessing the bulb housing, removing the old bulb, and installing a new one. Ensure to use the correct bulb type for optimal performance.
The 2006 Volvo S60 is a stylish sedan known for its safety and performance. However, like any vehicle, it may require maintenance over time. One common task is replacing headlight bulbs, which can dim or burn out.
This guide will provide you with the necessary steps and tips for a successful replacement, ensuring you maintain visibility and safety on the road. For related context, you may also want to read Volvo S60 pcv valve replacement.
- Replacing headlight bulbs in a 2006 Volvo S60 is a straightforward process.
- Use the correct bulb type for your specific model to ensure compatibility.
- Take safety precautions when handling electrical components.
- Follow step-by-step instructions for both low and high beam bulb replacements.
- Regularly check and maintain your vehicle’s lighting systems for optimal performance.
Understanding the 2006 Volvo S60 Headlight Bulbs
The 2006 Volvo S60 uses different types of headlight bulbs for low and high beams. The low beam typically requires an H7 bulb, while the high beam uses an H1 bulb. Knowing the correct bulb type is crucial before starting the replacement process.
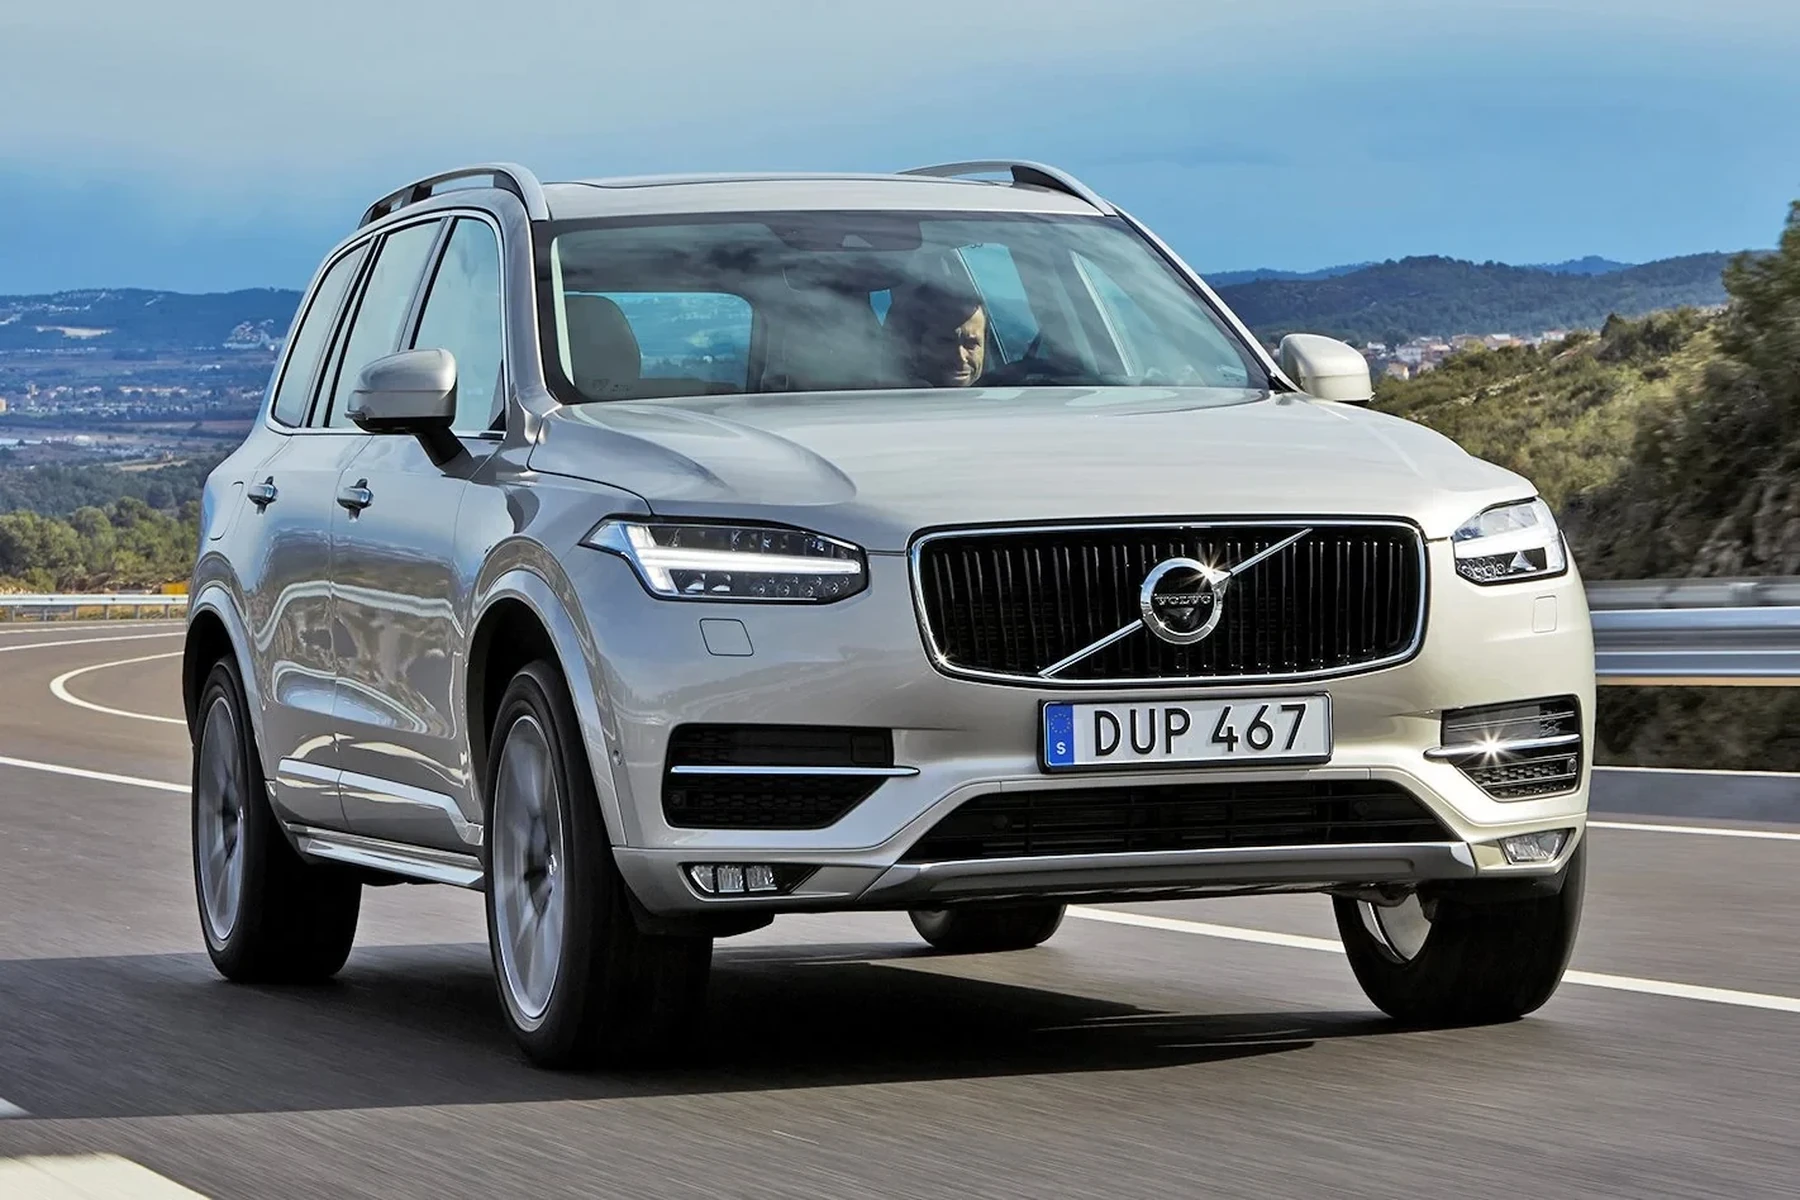
It is advisable to consult your vehicle’s owner manual for specific details regarding bulb types and specifications. This ensures you purchase the correct replacement bulbs, maintaining proper functionality and safety.
Tools Needed for Headlight Bulb Replacement
Before you begin, gather the necessary tools to make the replacement process smooth. You will need: This connects closely with Volvo S60 key replacement cost if you want to compare the topic in more detail.
- New headlight bulbs (H7 for low beam, H1 for high beam)
- Flathead screwdriver or a socket wrench
- Gloves (to avoid touching the bulbs with bare hands)
- Safety glasses (optional for added protection)
Having these tools ready will allow you to perform the replacement efficiently without interruptions.
Steps for Replacing Low Beam Headlight Bulb
Follow these steps to replace the low beam headlight bulb in your 2006 Volvo S60:

- Open the Hood: Start by opening the hood of your vehicle and securing it with the prop rod.
- Locate the Headlight Assembly: Find the headlight assembly at the front of the vehicle. The low beam bulb is usually positioned at the rear of the assembly.
- Remove the Bulb Cover: Depending on the model, you may need to remove a cover or twist the bulb socket to access the bulb. Use a flathead screwdriver or your hands to carefully remove it.
- Disconnect the Old Bulb: Grasp the old bulb and pull it straight out of the socket. Be careful not to twist or turn it too hard, as this may damage the socket.
- Insert the New Bulb: Take the new H7 bulb (ensure you handle it with gloves) and insert it into the socket. Make sure it fits securely and in the correct orientation.
- Replace the Bulb Cover: Once the new bulb is in place, replace the bulb cover or twist the socket back into position.
- Test the New Bulb: Turn on your vehicle’s headlights to ensure the new bulb is functioning correctly.
Steps for Replacing High Beam Headlight Bulb
Replacing the high beam bulb is similar but involves a few different steps:
- Open the Hood: As with the low beam, open the hood and secure it.
- Locate the High Beam Assembly: Identify the high beam bulb at the back of the headlight assembly.
- Remove the Bulb Cover: Remove the cover or twist the socket to access the bulb.
- Disconnect the Old Bulb: Pull the old H1 bulb straight out of the socket.
- Insert the New Bulb: Insert the new H1 bulb, ensuring a secure fit without touching the glass.
- Replace the Bulb Cover: Reattach any covers or twist the socket back into place.
- Test the New Bulb: Turn on the high beams to confirm proper installation.
Safety Precautions to Consider
Handling electrical components requires caution. Here are some safety tips to keep in mind:
- Always wear gloves when handling new bulbs to prevent oils from your skin from damaging them.
- Work in a well-ventilated area to avoid inhaling any fumes from old bulbs.
- Ensure your vehicle is turned off before starting the replacement process to prevent electrical shock.
- Consult a professional if you’re unsure about any step in the process.
Common Issues and Troubleshooting
After replacing your headlights, you might face some issues. Here are some common problems and their solutions:
Dim or Flickering Lights
If your lights appear dim or flicker after replacement, check the bulb connections. Ensure they are securely fitted and that there is no corrosion on the contacts.
Burned Out Bulbs Frequently
Frequent bulb failures may indicate electrical issues. Inspect the vehicle’s wiring and consult a mechanic if problems persist.
Compatibility Issues
Using the wrong bulb type can lead to functionality problems. Always double-check the bulb specifications for your model.
💡 Evans Torres Tip: Regularly inspect your headlight bulbs during routine maintenance checks. This proactive approach can help prevent unexpected failures and ensure your visibility on the road.
Frequently Asked Questions
How Often Should I Replace My Headlight Bulbs?
It’s recommended to replace headlight bulbs every 12 to 24 months, depending on usage and driving conditions.
Can I Replace Headlight Bulbs Myself?
Yes, replacing headlight bulbs is a straightforward process that most car owners can do on their own with basic tools and instructions.
What Are the Signs of a Failing Headlight Bulb?
Dim lighting, flickering, or complete bulb failure are common signs that a headlight bulb needs replacement.
Where Can I Purchase Replacement Bulbs?
Replacement bulbs can be found at auto parts stores, online retailers, and even some larger general merchandise stores.
Is It Necessary to Replace Both Bulbs at the Same Time?
While it’s not mandatory, it’s advisable to replace both bulbs simultaneously for consistent brightness and appearance.
Final Verdict
Replacing the headlight bulbs on your 2006 Volvo S60 is a simple yet essential task for maintaining visibility and safety. By following the outlined steps and using the correct bulb types, you can ensure that your vehicle is in top condition.
Regular checks and timely replacements will enhance your driving experience, keeping you safe on the road.
Author

Author

Evans Torres
I’m Evans Torres, an automotive engineer who loves Volvo cars. I graduated in Automotive Engineering from USC. I have worked in the car industry for years and now share my knowledge on The Volvo Life. I started this blog to connect with other Volvo fans. I offer tips, news, and advice to help you care for your car. My goal is to help you keep your Volvo in great shape and find all the best things about it. Join me as we discover everything Volvo has to offer!